

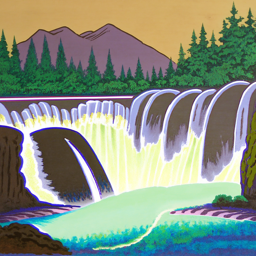
To start off, I used the DeepFloyd model to generate images. Here, and in all steps of the project, I used 2024 as a seed. Here are images I attained with 20 inference steps:


When inference steps are reduced, image quality also decreases significantly. Here are the same images with significantly fewer inference steps:
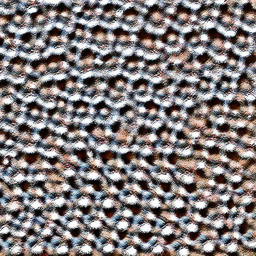
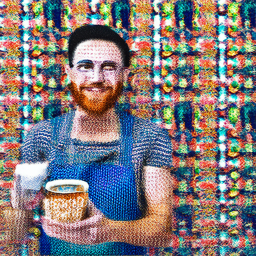
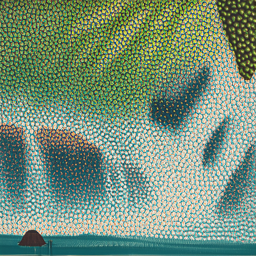
As expected, both the quality of the image and the quality of the upscale are significantly worse.
An important part of the diffusion process is the forward process, which takes in an image and outputs a noisy version of the same image. The algorithm we used allows for images that are increasingly noisy according to the following formula:
\[ q(x_t | x_0) = N(x_t; \sqrt{\bar{\alpha}_t} x_0, (1 - \bar{\alpha}_t) I) \]
which is equivalent to computing
\[ x_t = \sqrt{\bar{\alpha}_t} x_0 + \sqrt{1 - \bar{\alpha}_t} \epsilon \quad \text{where } \epsilon \sim N(0, 1) \]
After I implemented this forward algorithm it produced the following results:
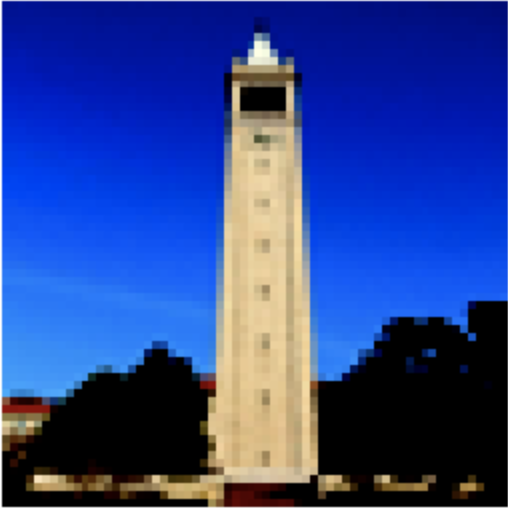
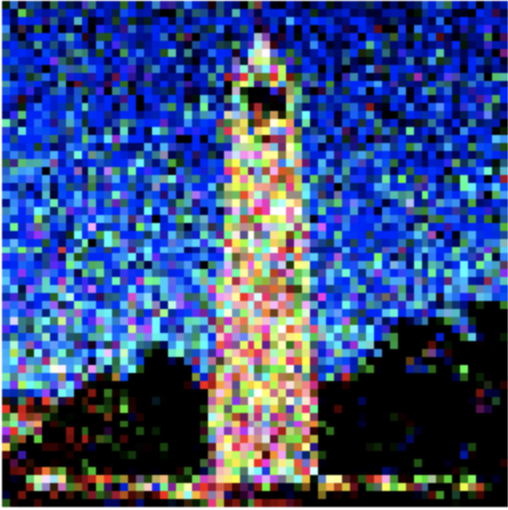
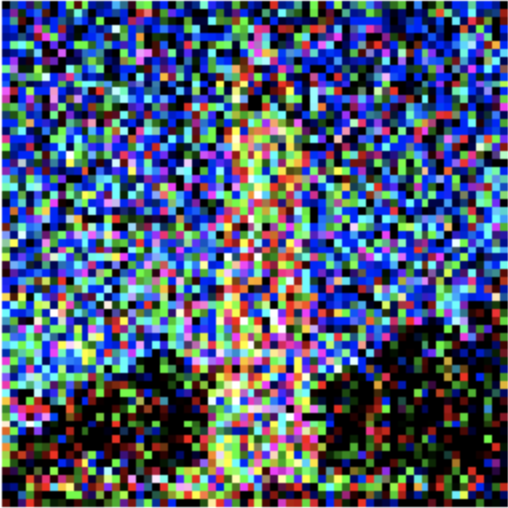
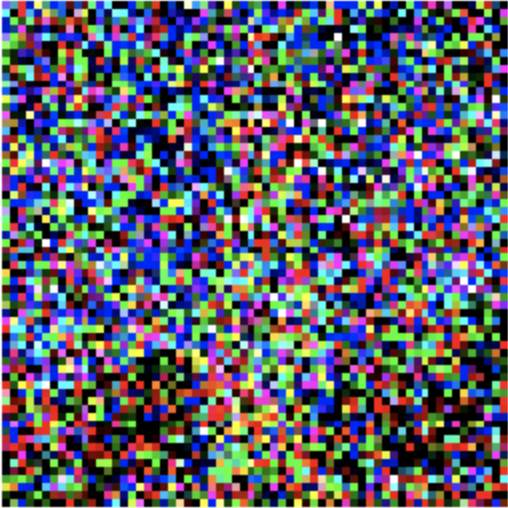
Classical denoising can be achieved by applying a gassian blur to noisy images. The goal of this is that if noise is high frequecny, we may denoise an image by limiting it to the lower frequncy. However, in this case results are quite bad. Here we can see the results of classical denoising:


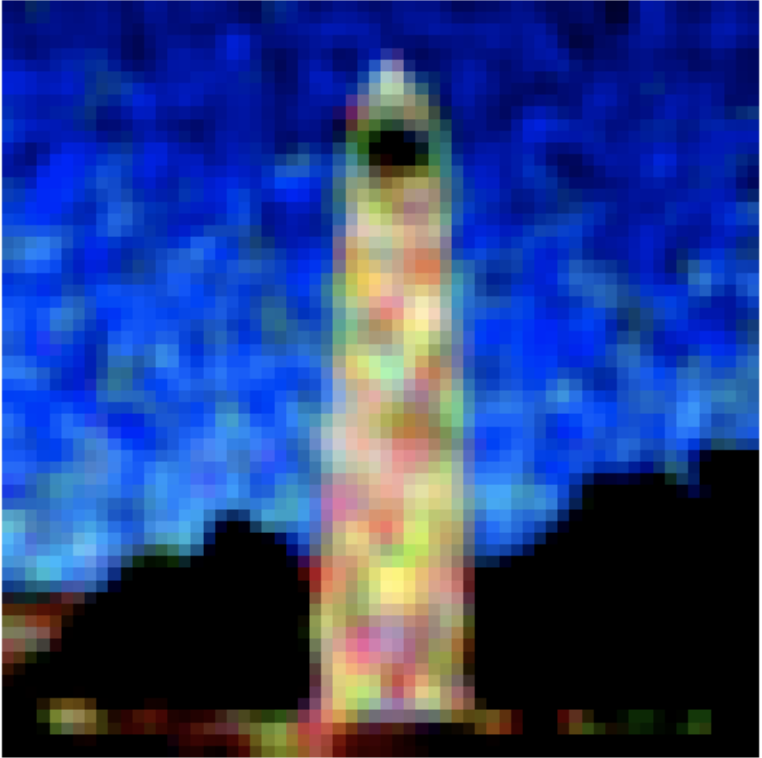
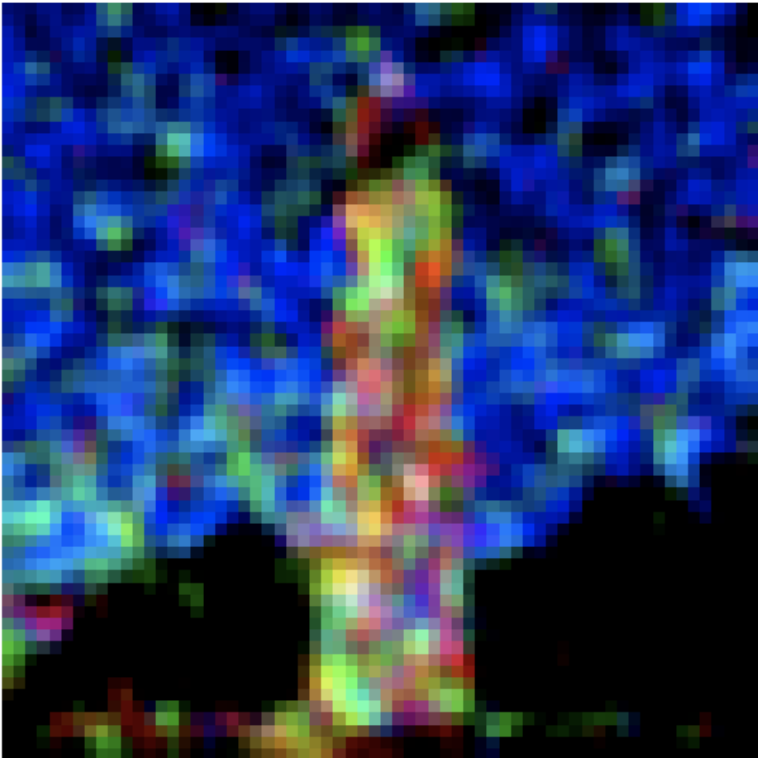
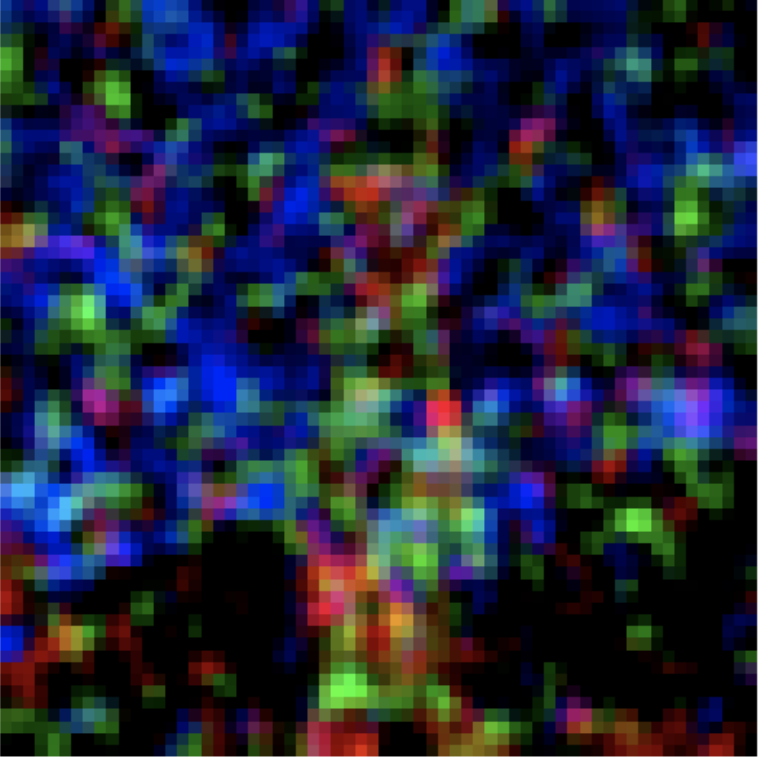
At this step, we will try to denoise images by using UNET. Our goal as of this subsection is to input a noisy image, and directly (not iteratively) return the model's best estimate for the denoised image. At this step, we provide no text guidance for the denoising other than the prompt 'a high quality photo'.
In this, and subsequent steps of the project, we observe that when denoising a very noisy image, the result may be high quality but different to the input. This is expected given that the model has to hallucinate, and will allow image generation in later sections.
Here are my results for one step denoising of the campanille image:


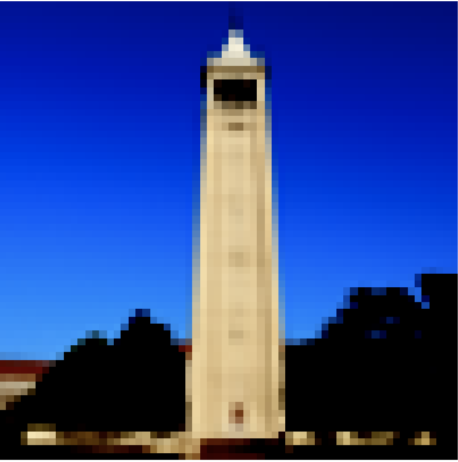
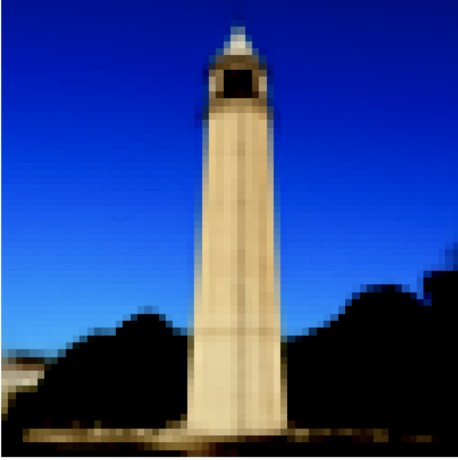
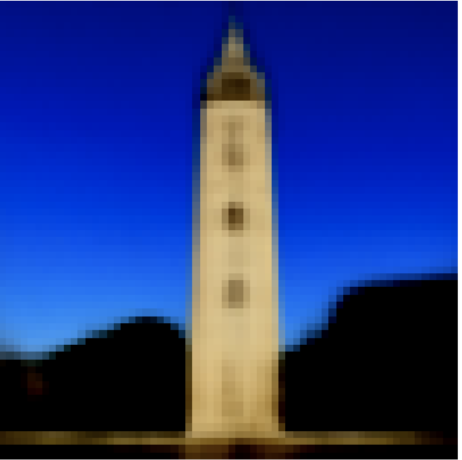
Unet achieves significantly better results if the image is denoised iteratively, as opposed to in one step. Instead of denoising iteratively timestep by timestep, we denoise 30 timesteps at a time (out of one thosand), since performace is acceptable and perfonance is significantly improved.
The following relationship relates a noisy image at timestep t, with that at timestep t' (less than t)
\[ x_{t'} = \frac{\sqrt{\bar{\alpha}_{t'}} \beta_t}{1 - \bar{\alpha}_t} x_0 + \frac{\sqrt{\alpha_t}(1 - \bar{\alpha}_{t'})}{1 - \bar{\alpha}_t} x_t + v_\sigma \]
Here, the alphas bar are determined by the model, alpha_t is the ratio between alpha_t bar and alpha_t' bar, and beta_t is 1 minus that value.
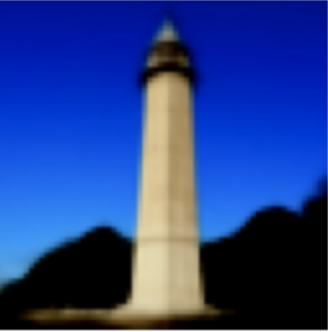
By using this algorithm, starting at a noisy campanille at timestep t=690, we achieve the following iterative denoising results.
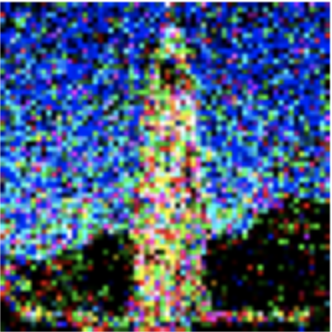
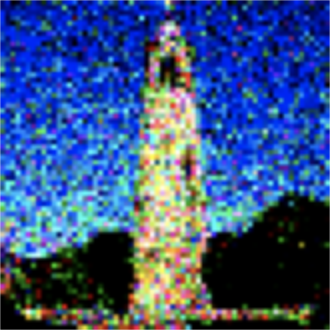
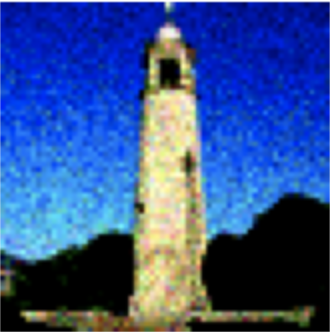
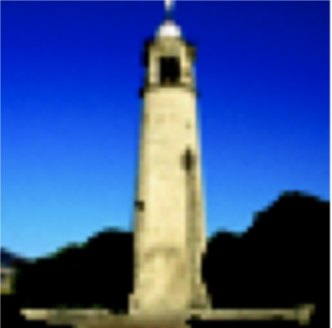
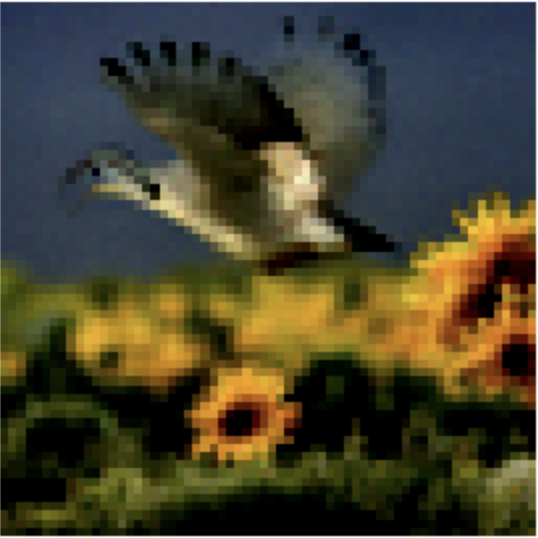
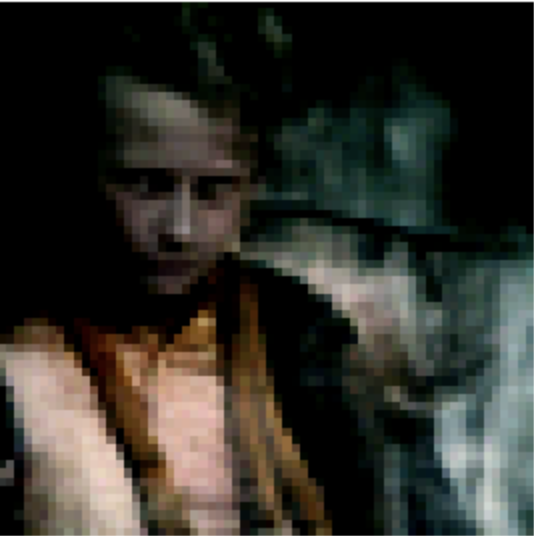
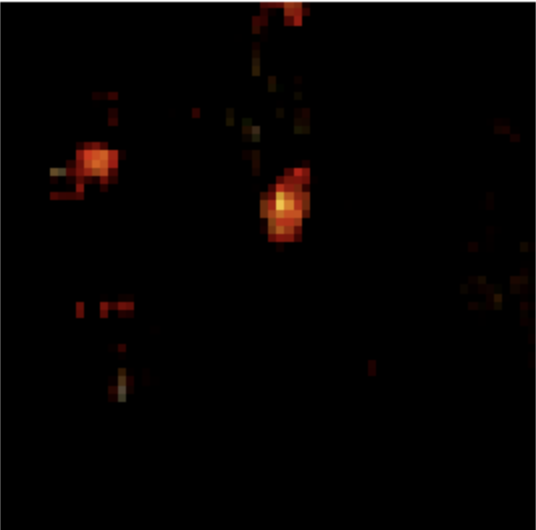
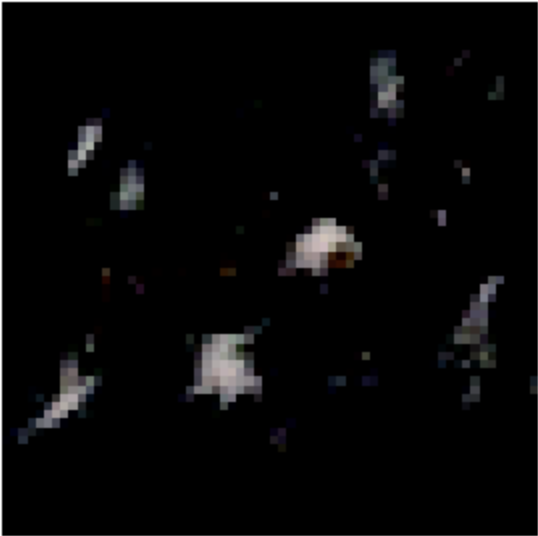
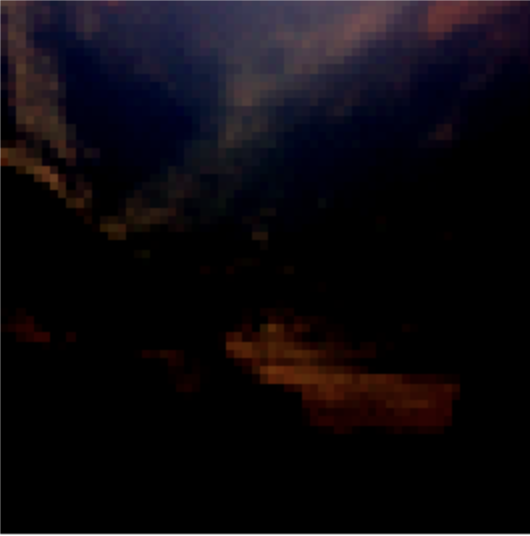
Now, we notice that if we provide pure noise, as input to the previous algorithm, it will generate random viable images (not specific since we aren't providing a propmt that carries information). Here are 5 samples I generated by using this:
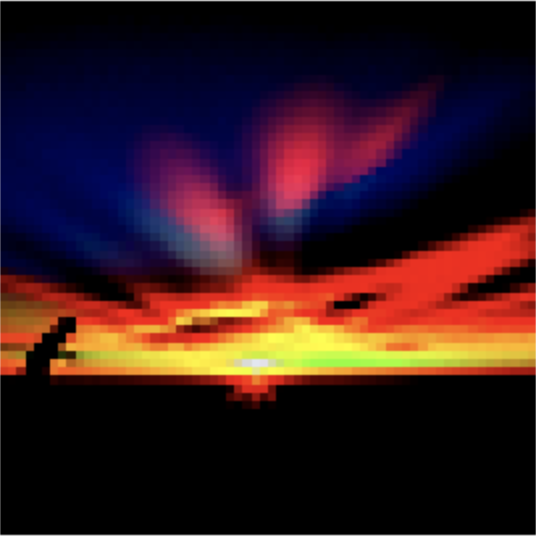
While the previous images where somewhat realistic, they were undeniably of low quality. Here, we try to improve on that. Specifically, instead of taking the noise prediciton from the model, we estimate noise using a prompt and a null string. Then, we overweight the prompt noise using the following formula (for gamma greater than 1):
\[ \epsilon = \epsilon_u + \gamma (\epsilon_c - \epsilon_u) \]
By using this, we may achieve higher quality images:
In this section, we experiment and try to obtain similar images to an input, by adding significant noise. If we add too much, the input and output will be too different. If we don't add enough they'll be too similar. Here
Here are is the original campanille image:

And here are the edited verisons:


I also edited an image of a minion toy. I believe that since its of unusal shape it took longer for the image to resemble the original:

And here are the edited verisons:


Finally, I used an image of a mountain I took on vacation

And here are the edited verisons:
A similar procedure can be applied to hand drawn/unrealistic images. Here are the results for a hand-drawn image I found online:
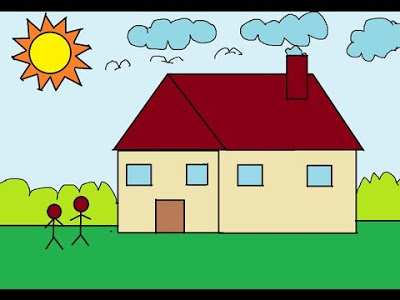
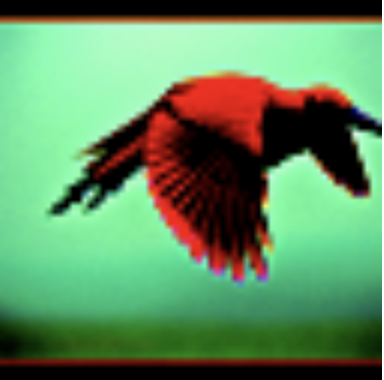
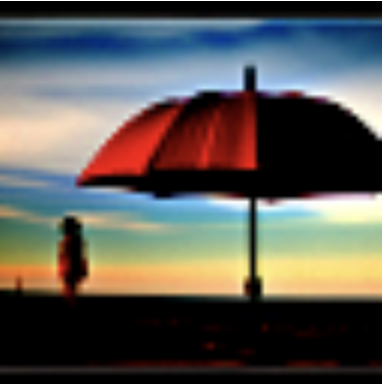

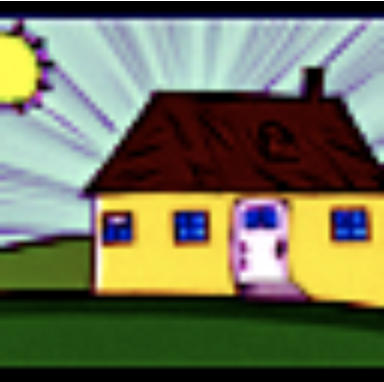
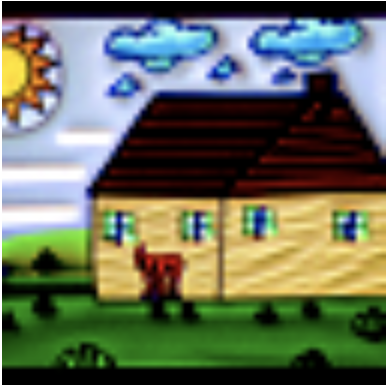
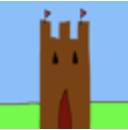
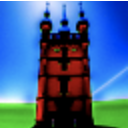
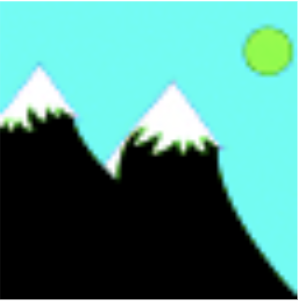
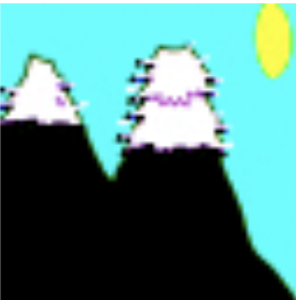
Then I tried to apply this to my terrible drawing skills. I achieved great results with a castle drawing and worse ones with one of a mountain:


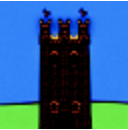


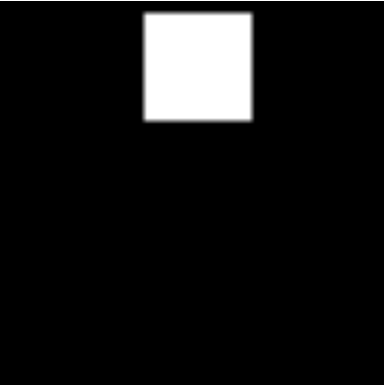
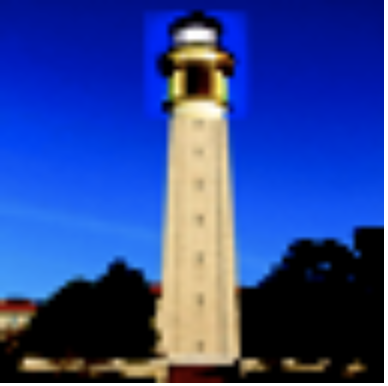
Using a similar procedure, we're able to replace only a section of an image, thereby impainting that section. On the example image, we obtain these results:

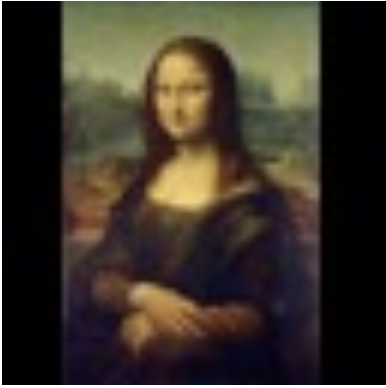
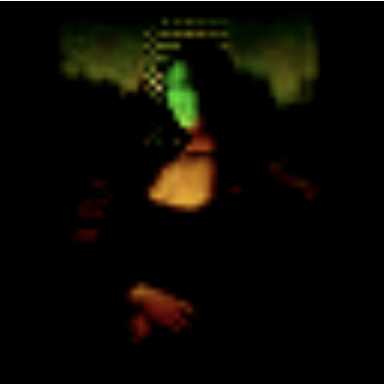
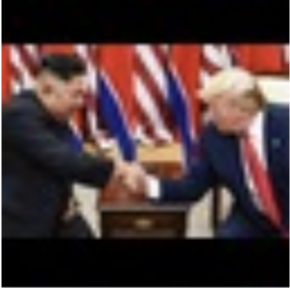
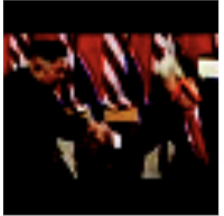
Next, I applied the same process to internet images. Interestingly, the mona lisa was transformed into an alien and trump disappeared into the background

We can refine this editing procedure by using text prompts to guide it. In the case of the campanille, we can turn it into a rocketship, by giving 'a rocket ship' as prompt. Then, noise will be hallucinated as a rocket ship. Here are the results for the campanille:

Then I converted Arnold Schwarzenegger to a skull (i=7 is particlarly good):


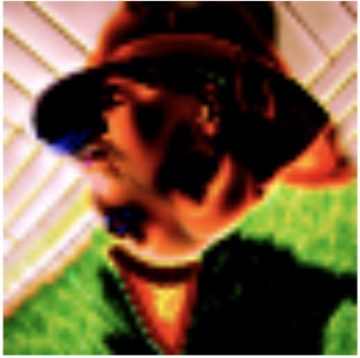
And here is Biden wearing a hat:


Let's try something else! In this section, we will try to create an image which matches one prompt when facing upwards, and another when flipped. To achieve this, in each denoising iteration, we flip the image and calculate the denoising for each prompt. Then we average this estimated noise.
Here is a Visual Anagram which is an oil painting of an old man facing upwards, and a campfire scene facing down.
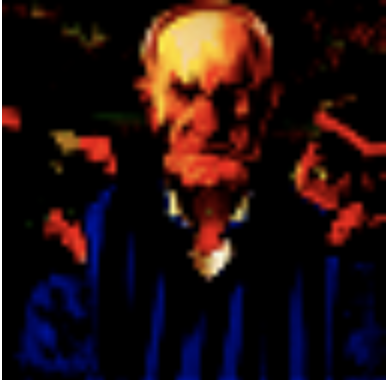
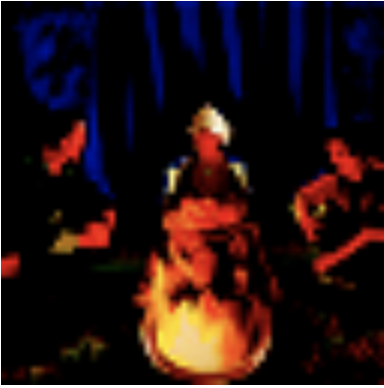
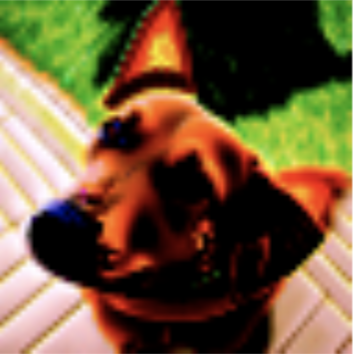
Here are some other examples:

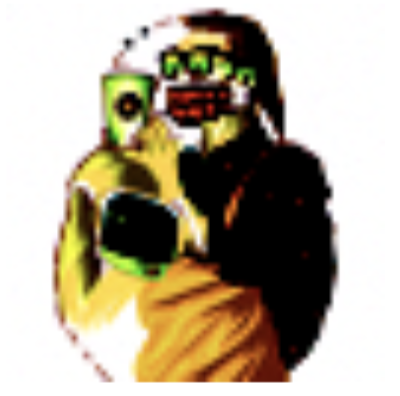
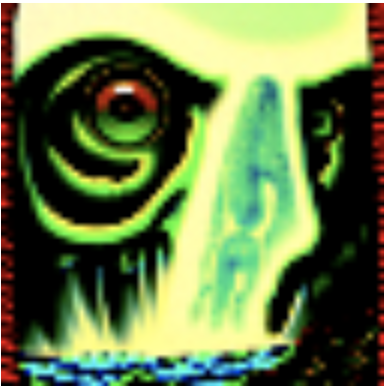
Similar to the last section, we can also create hybrid images. In this case, instead of combining images by flipping them before calculating noise, we calculate both in the same direction but apply a high pass filter to one, and a low pass to another. Here is an anagram between a skull and waterfalls:
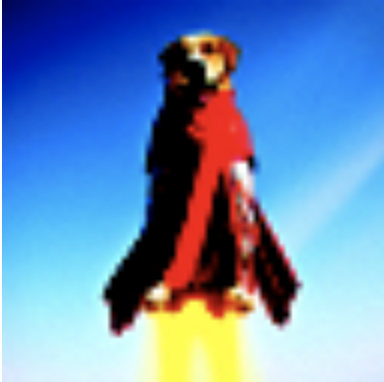
Here's another 2 I made, hybrids between a rocket and a dog and a pencil and a barista:
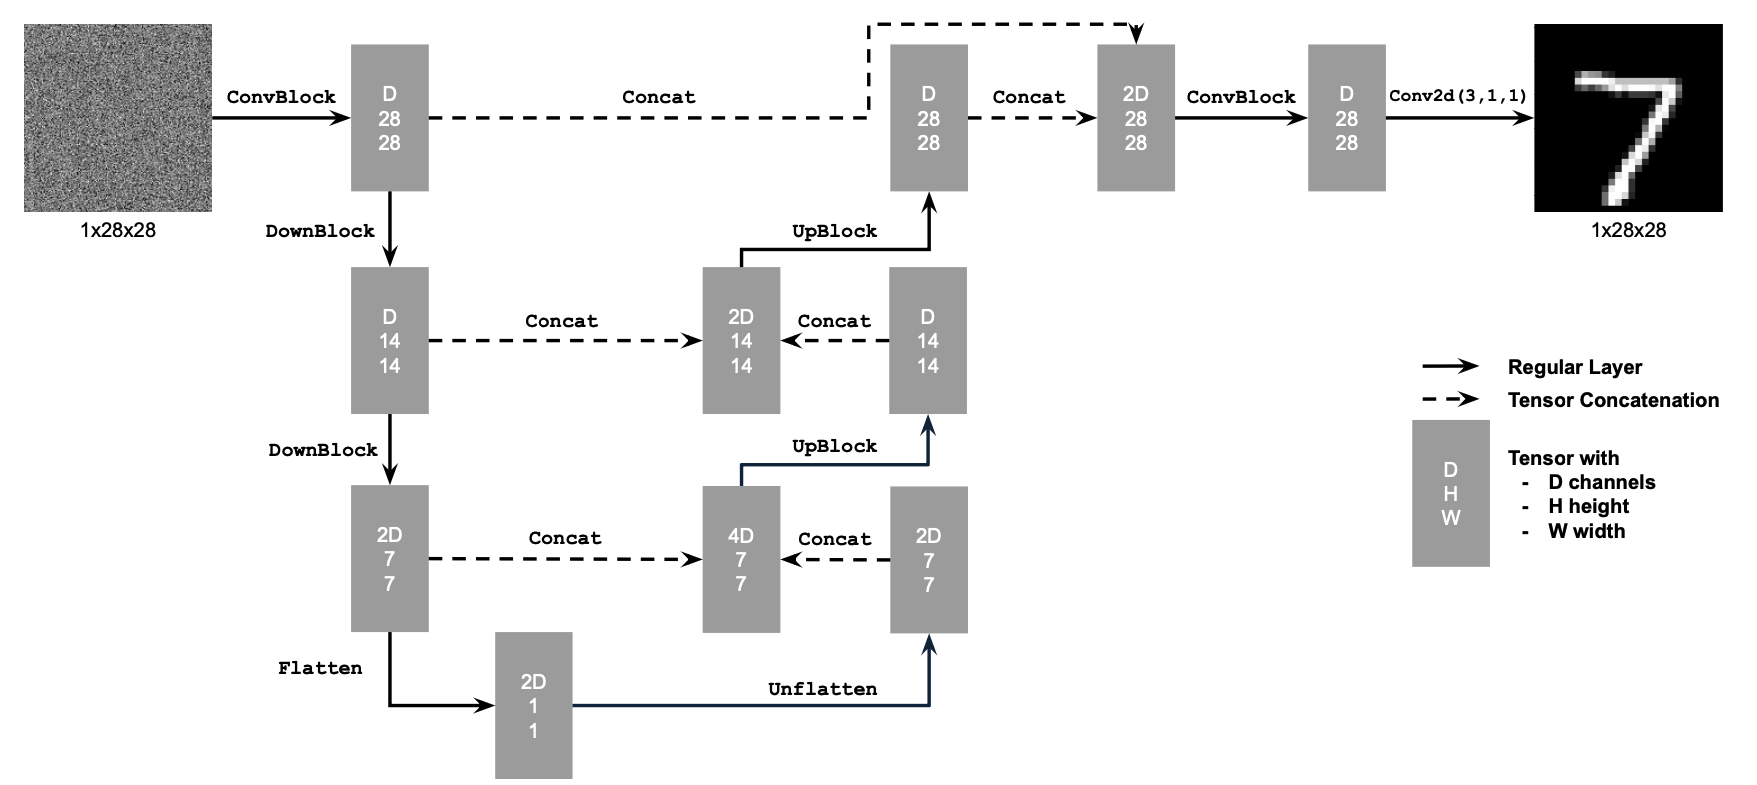
In part B of the project, we implement UNET. To do this, we must implement a series of transformations, such as ConvBlocks, DownBlocks and UpBlocks. The goal of this part is to imitate this model and train it to denoise unconditionally:
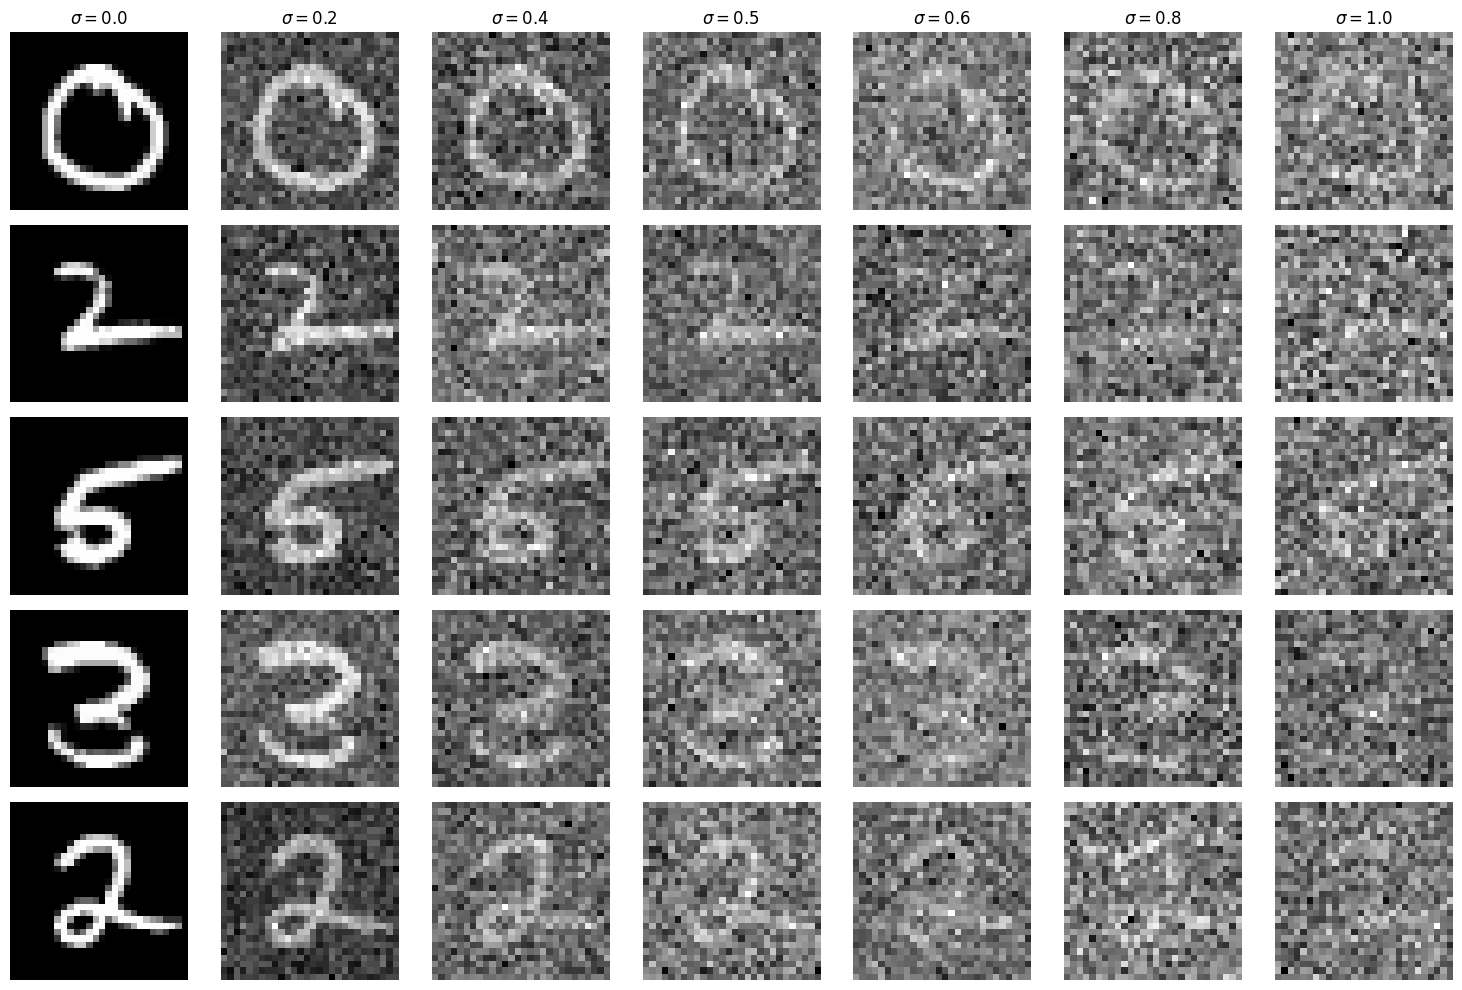
First, we implement the noising algorithm. This is similar to that we found in part A of the project. These are the associated results:
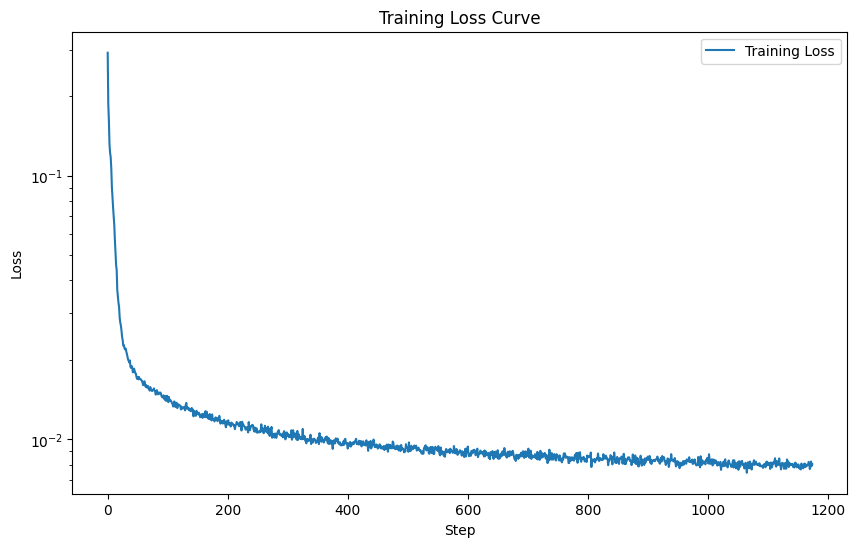
Using these noisy digits as input data, we train our model. Here is the Training loss diagram:
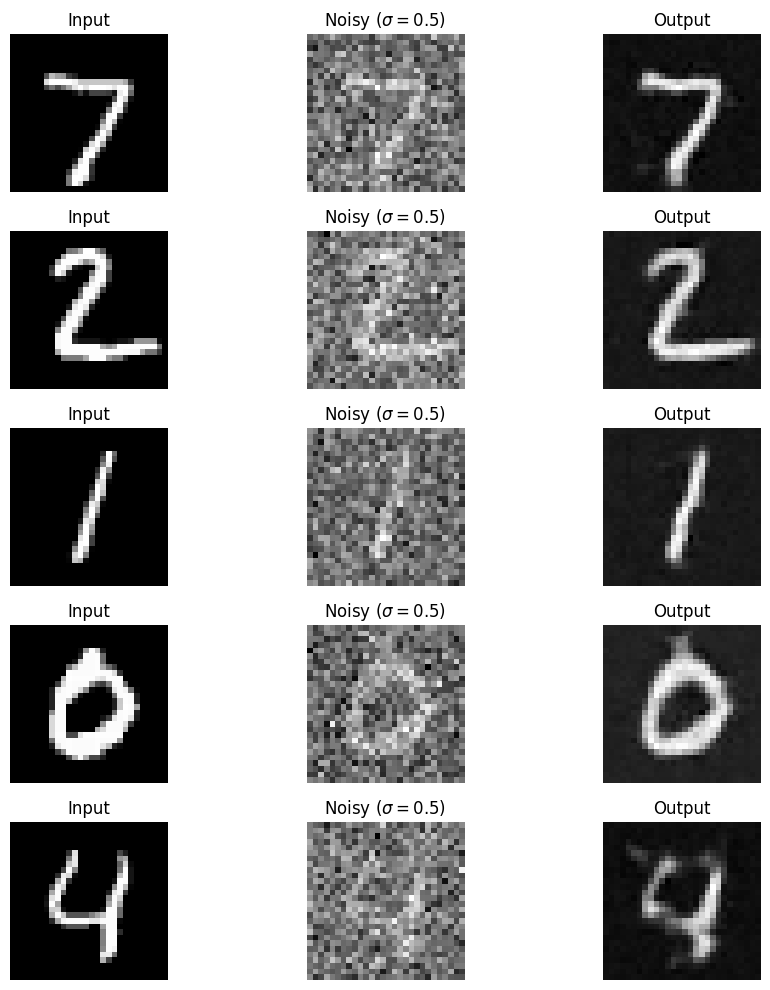
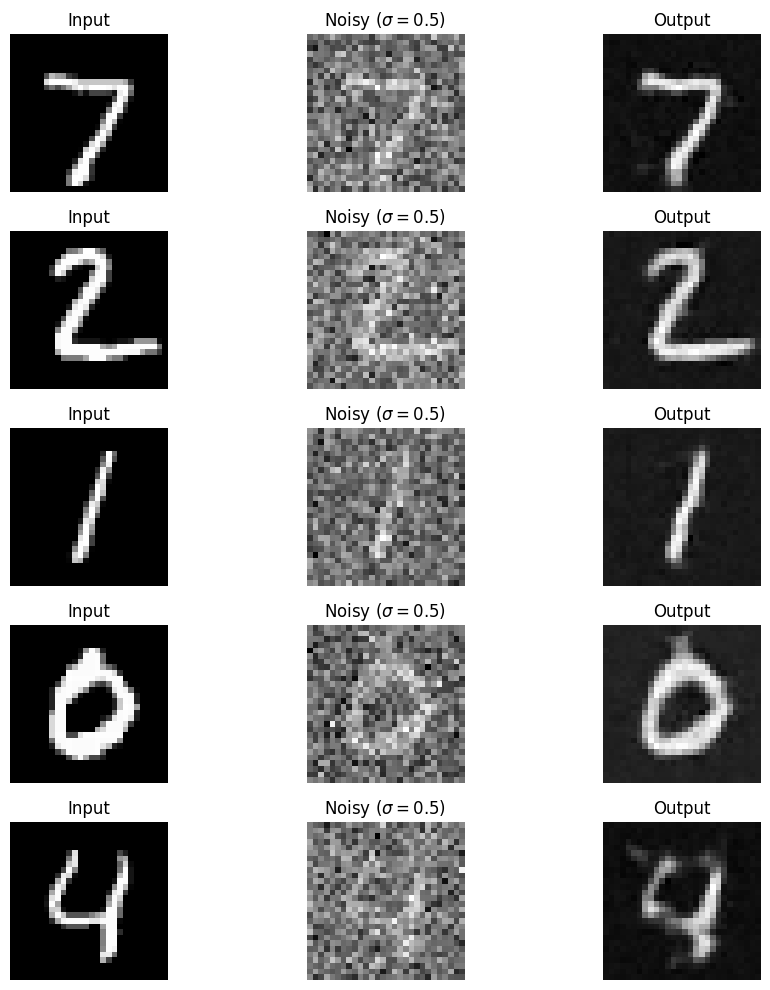
Here are some sample results for the first and fifth epoch:
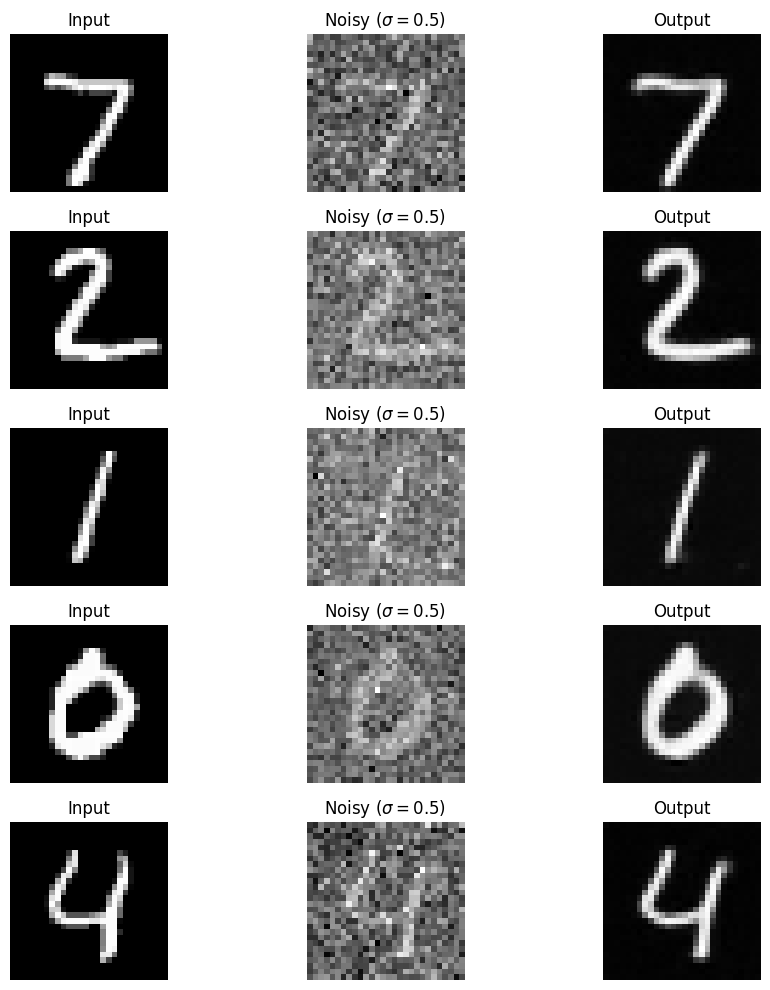
After we finish our training, we may test out of sample. Here are my results:
In part 2, we extend the model of part 1, first by creating a time dependent model, and then by making it class-conditioned
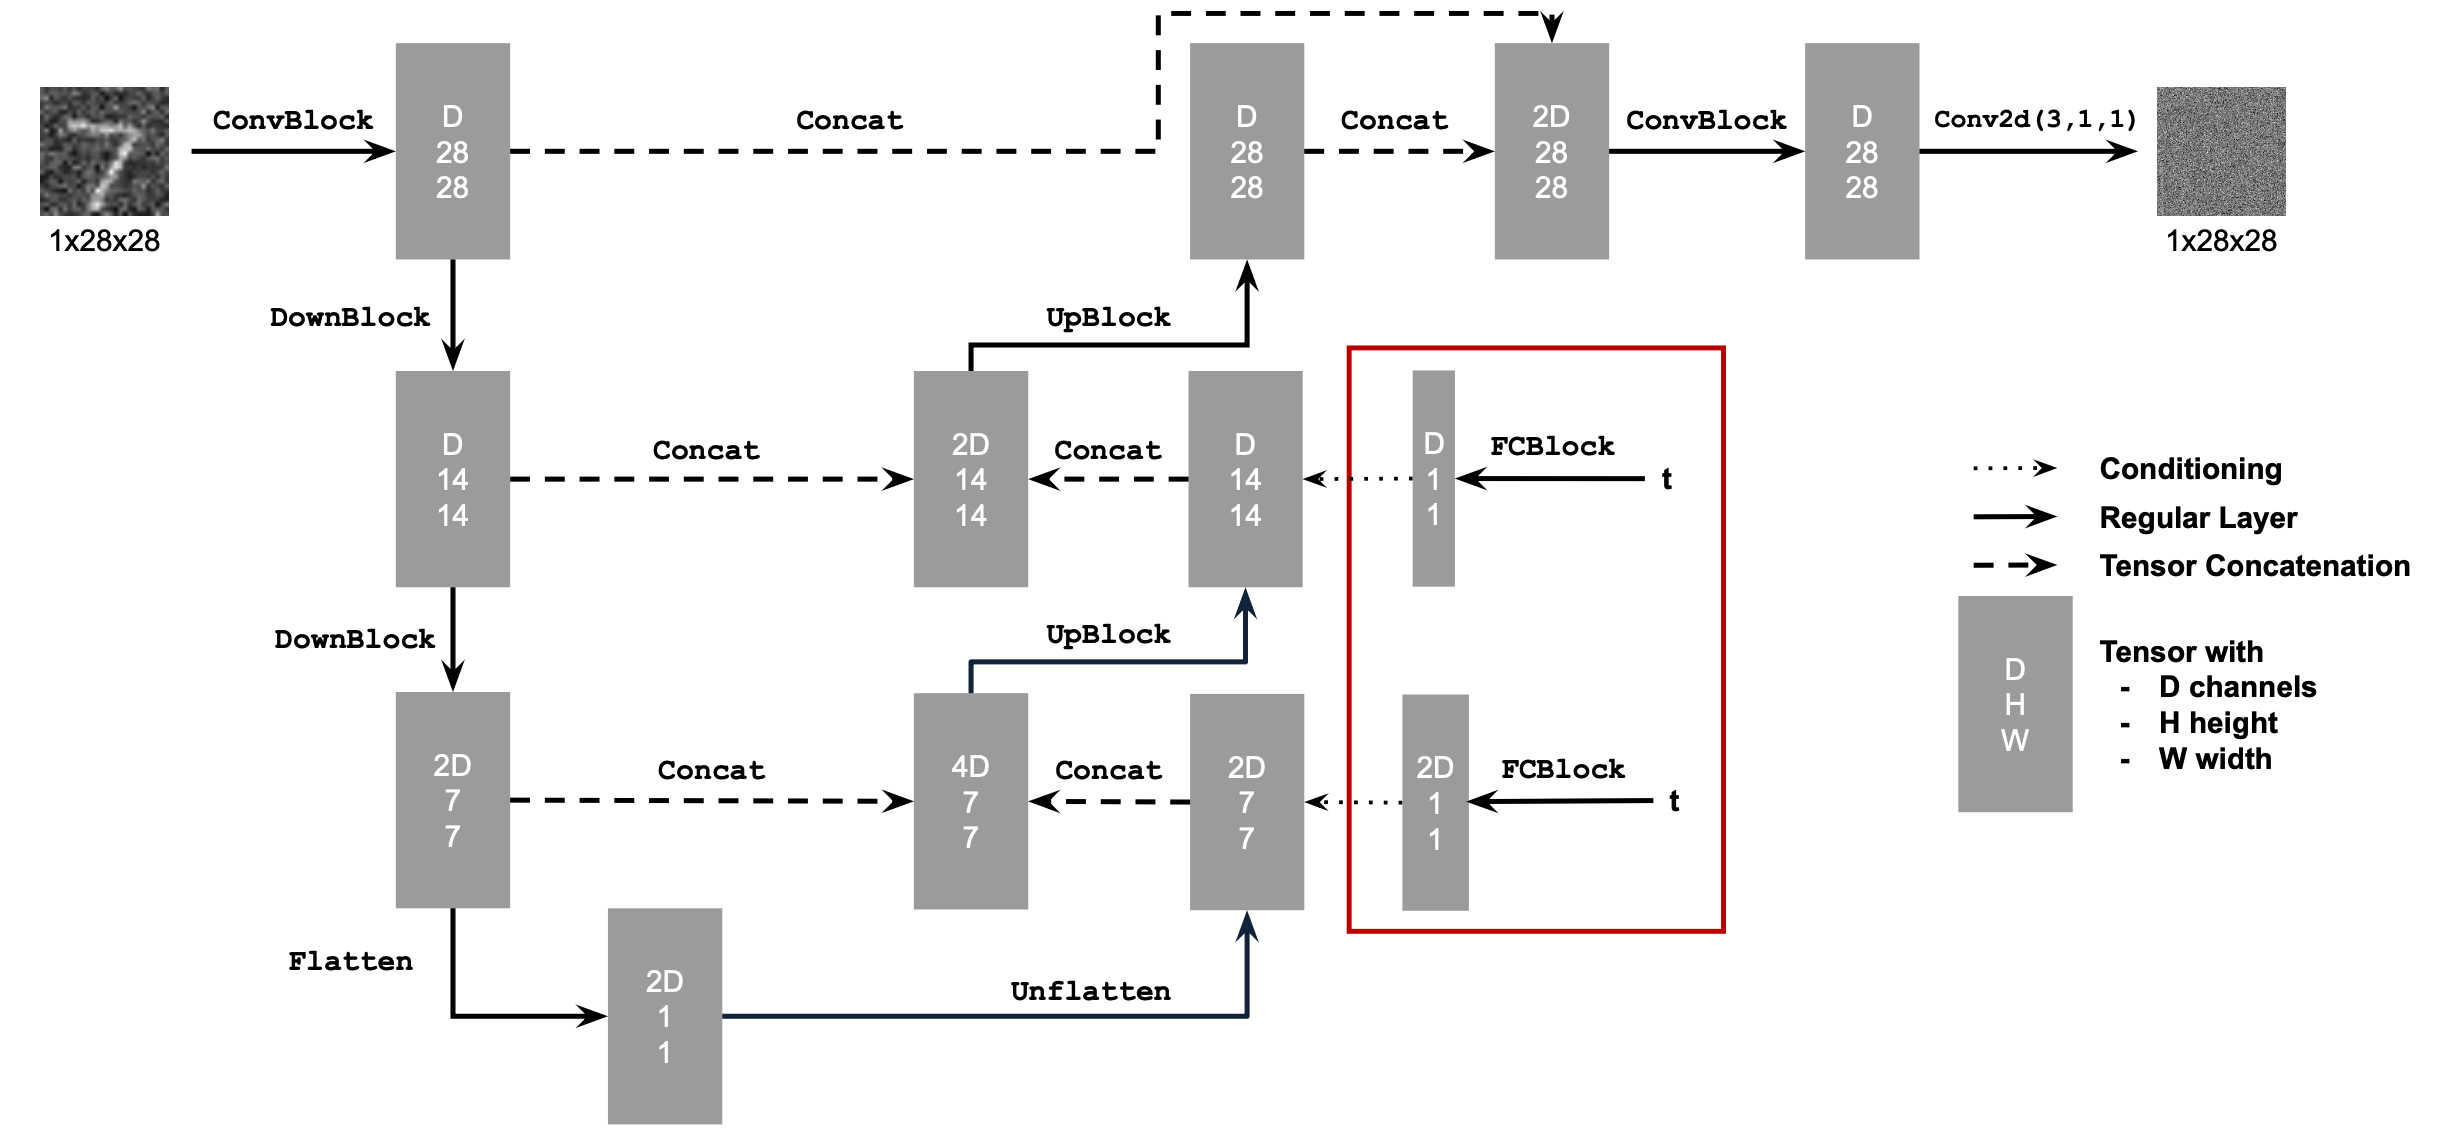
In order to create a diffusion model, we must update our part 1 model to denoise iteratively as opposed to in one step. To adapt our previous model to this iterative process, we adapt our noise generation to be iterative (as defined in part A), and condition the model on T by adding two fully connected (FC) blocks. Here is the diagram for the conditioned model:
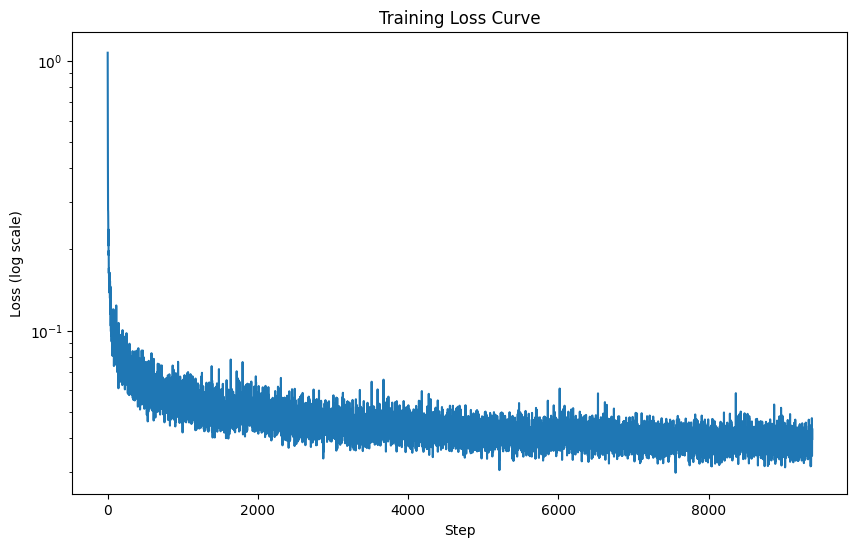
After training the model from the previous part, I got the following loss curve:
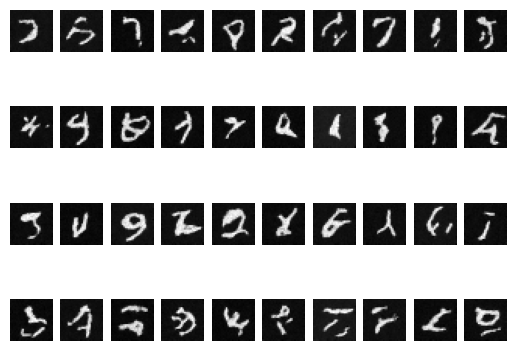
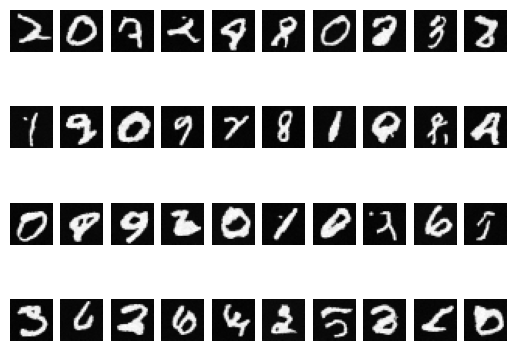
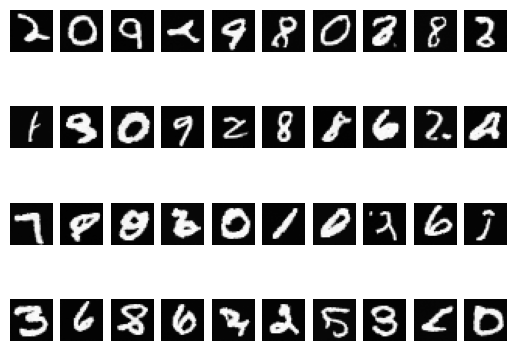
Here are the sampling results after 1, 5, and 20 epochs:
The final improvement for our model is to add class conditioning. This is not only the essence of what has made diffusion models so popular but should also significantly improve our results.
To implement this, we add two new FC Blocks to our model. We also implement drouput to ensure that the model works without conditioning (that is, how larger real models work).
Here is the log loss curve for the class conditioned model.
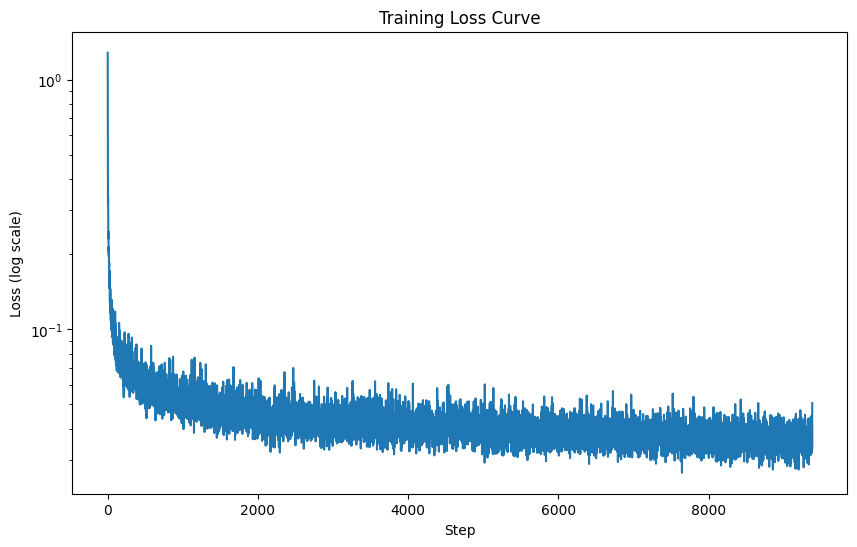
Here are the sampling results for the class conditioned model:


